How to Get Started Hobby Mining in Colorado: Clubs, Tools, Claims, and the Apps You Actually Need
You’ve decided you want to try this. Maybe a YouTube video of someone pulling an amazonite cluster out of the Crystal Peak district hooked you. Maybe you grew up near Idaho Springs and you’ve always wondered what’s in the gulches. Maybe you just want a reason to spend more weekends in the mountains with a purpose. Whatever brought you here, the question is the same: where do you actually start?
This is the roadmap. Not a romantic one. A practical one. Read this, follow the steps in order, and you’ll go from “I’m interested in hobby mining” to “I’m on a productive Colorado claim with the right gear, the right people, and zero legal exposure” in about a month.
Step 1: Join a Colorado Mineral Club
Before you buy any gear, before you download any apps, before you research a single locality, do this. Join a club.
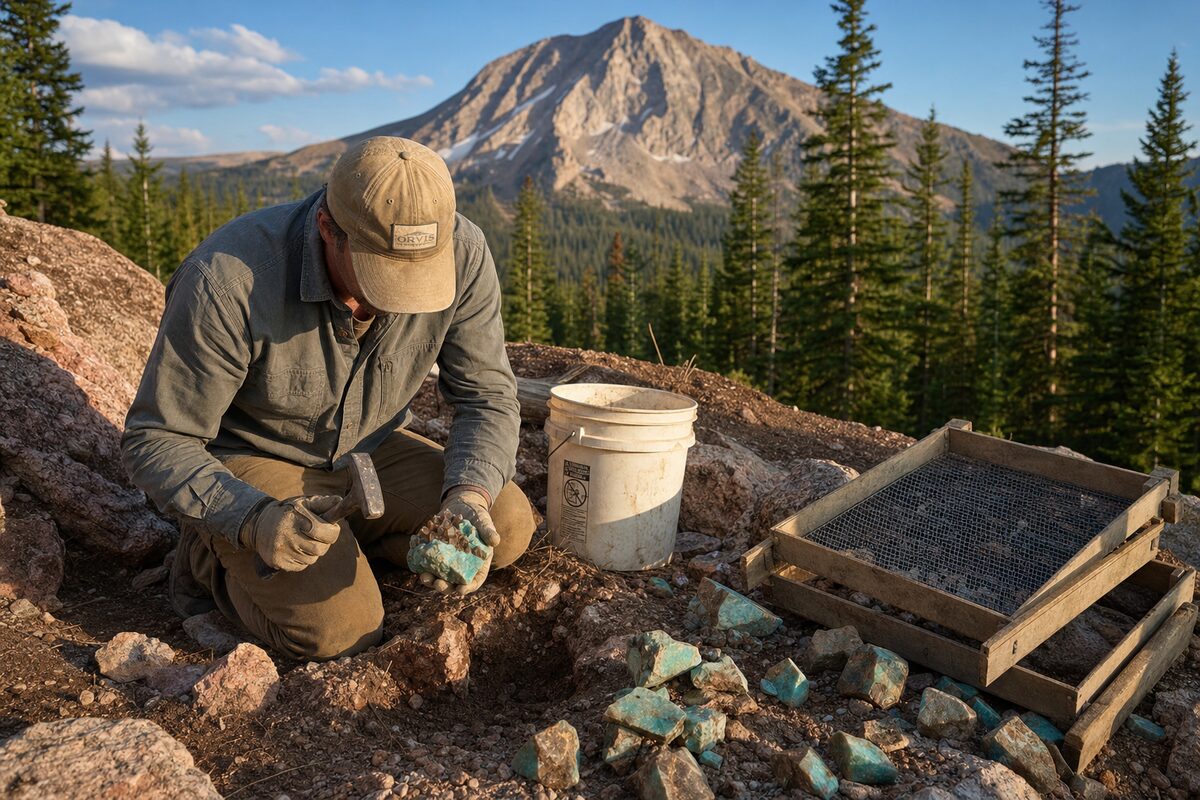
Here’s why it’s the single highest-leverage move you can make: the most productive collecting ground in Colorado is almost entirely on active mining claims. You can’t legally collect on those claims without the claim holder’s permission. Most claim holders won’t talk to a stranger off the internet. They will talk to a member of a Colorado mineral club that has an established relationship with them. Membership is the access key for the entire hobby.
Annual dues are $20 to $40 at every club worth joining. That’s the cheapest investment in this hobby by far.
The clubs to know:
- Lake George Gem and Mineral Club — Based in the Lake George/Crystal Peak district. Runs field trips into the most productive amazonite ground in the world. Has its own field-trip subsite. Annual mineral show the second weekend in August in Cripple Creek. If you only join one club, join this one.
- Colorado Mineral Society — Denver-based. Strong field trip program. Active claims and good educational program.
- Colorado Springs Mineralogical Society — Pikes Peak region, runs trips into Crystal Peak and Front Range pegmatites.
- Littleton Gem and Mineral Club — South-metro Denver. Good for casual hobbyists getting started.
- Denver Gem and Mineral Guild — Holds the historic Wigwam Creek claim that produced Colorado’s largest gem topaz crystals. Membership = access to that ground.
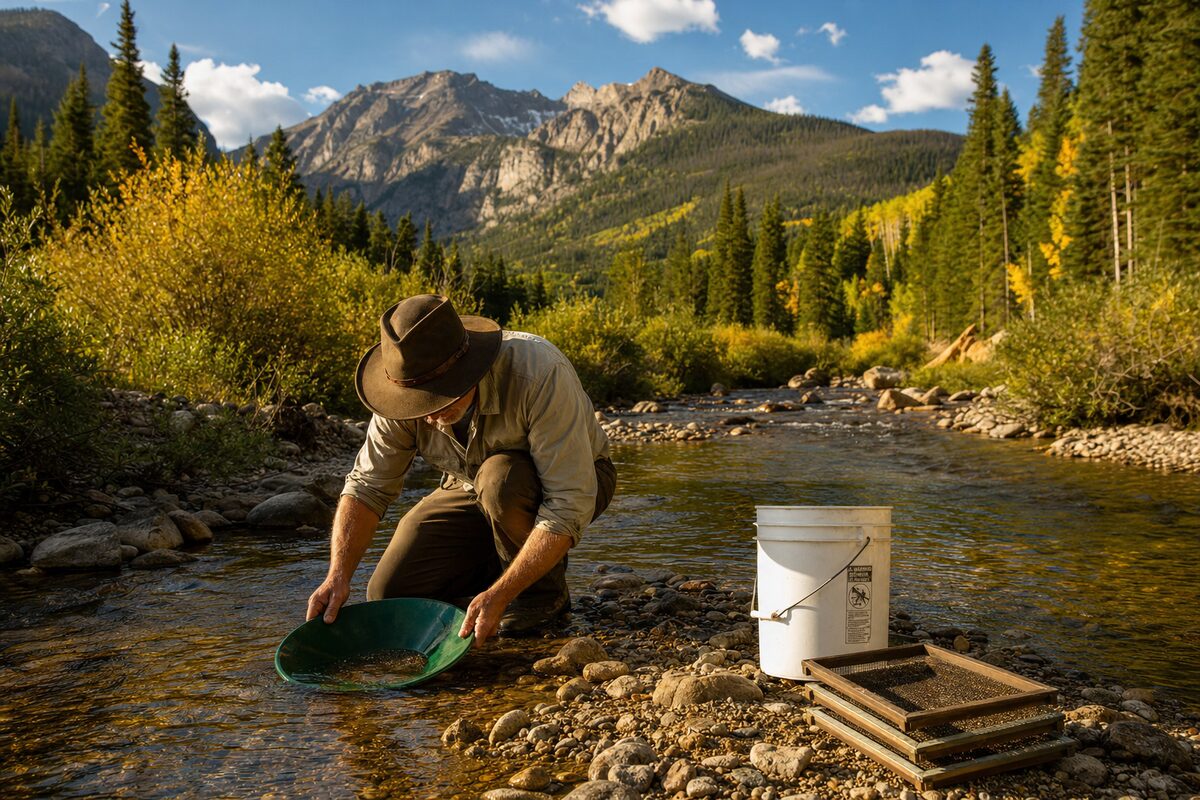
- Gold Prospectors of the Rockies — Focused specifically on placer gold prospecting. Different scene than the mineral clubs but excellent if gold is your interest.
How to actually do this:
- Pick one club closest to where you live or where you want to collect.
- Go to their website, find the membership page, pay the dues.
- Show up to a meeting. They’re usually monthly, often at a library or community center.
- Get on the field-trip email list.
- Sign up for your first trip.
That’s it. You’re now legally pre-positioned to access ground that 99% of would-be hobby miners never get on.
Step 2: Get the Mapping Apps
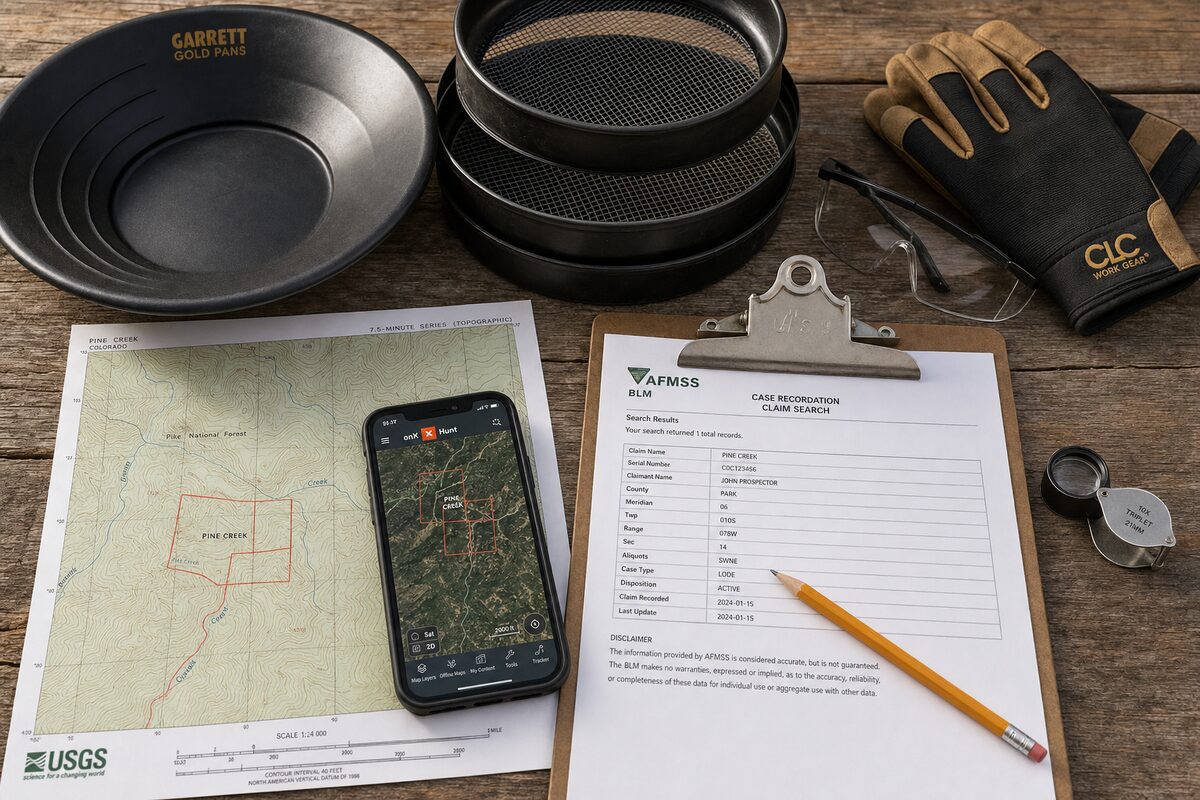
This is the modern beginner’s secret weapon. Two apps, used together, will tell you exactly whose land you’re standing on at any moment.
onX (Hunt, Backcountry, or Offroad)
onX is a paid GPS mapping app originally built for hunters that has become the de facto standard for anyone who needs to know land ownership in real time. Three flavors exist:
- onX Hunt — $34.99/yr for one state, $49.99/yr for two states, $99.99/yr for nationwide Elite. Best private land detail.
- onX Backcountry — Hiking/skiing focus. Elite tier ($99.99/yr) unlocks the private land layer.
- onX Offroad — 4WD trail focus. Elite tier unlocks the private land layer. Useful if you’re driving forest roads to your collecting sites.
For Colorado hobby mining, onX Hunt Premium 1-state ($34.99/yr) is the sweet spot. You get:
- Real-time GPS location overlaid on property boundaries
- Private land owner names and parcel acreage
- Government land boundaries with managing agency (USFS, BLM, etc.)
- Offline maps you can save before going out of service
- Property line accuracy of 5-10 feet (good enough for staying out of trouble; not legal-grade for fence disputes)
How to use it for hobby mining:
- Before a trip, open onX and navigate to your target area
- Toggle the “Private Lands” layer to see property boundaries in red/orange
- Toggle “Government Lands” to confirm public agency (BLM, USFS, State, etc.)
- Download an offline map of the area to your phone before you leave cell service
- In the field, watch your GPS dot in relation to the boundaries — never assume
What onX does NOT show by default: active federal mining claims. Property line layers show fee-simple ownership but won’t tell you that a 20-acre rectangle of BLM land is actually under an active claim. That’s where the next tool comes in.
MyLandMatters.org
MyLandMatters.org is a free, web-based tool that visualizes the BLM’s mining claim database on an interactive map. It’s not as polished as onX, but it’s the easiest way to spot active federal claims before you set foot on a piece of BLM ground.
Workflow:
- Go to MyLandMatters.org
- Click “Maps” → “Mining Claims”
- Pick Colorado
- Zoom to the area you’re considering
- Active claims show as colored polygons overlaid on the BLM land
- Click any claim to see the holder, serial number, and PLSS location
For deeper detail (claim holder address, location notice, etc.), the official source is BLM LR2000. It’s an ugly government interface, but it’s authoritative. Use MyLandMatters for the quick visual, then drill into LR2000 if you need official paperwork before talking to a claim holder.
Backup: paper USGS topo + paper PLSS map
GPS apps fail. Phone batteries die. Cell service ends. Always carry a physical USGS 7.5-minute topographic quad of your target area, ideally annotated with the PLSS section/township/range boundaries. Buy them from USGS Store or print from The National Map. $9 well spent.
Step 3: The Starter Gear List
Don’t over-buy at the start. Most hobby mining equipment is solving a problem you don’t have yet. Here’s the actual list of stuff that does work, for less than $250 total:
Essential ($150-200)
- Gold pan (14” black plastic, ~$15) — Garrett or Estwing brands
- Classifier screens (1/4” and 1/8” stackable, ~$25) — for sorting gravel before panning
- Rock hammer (14 oz or 22 oz Estwing, ~$35)
- Cold chisel set (3/8” and 1/2” with hand guards, ~$20)
- Snuffer bottle (for picking up fine gold flakes, ~$8)
- 10x hand lens / loupe (~$15) — for examining crystals in the field
- Safety glasses (mandatory for hammer/chisel work, ~$10)
- Work gloves (~$15)
- Small specimen vials with caps (~$10 for a pack)
Highly recommended ($50-100)
- Sluice box (24-36” portable, ~$50-100) — if you’re focused on placer gold
- Hard hat (~$25) — if you’ll be near any kind of excavation
- Pry bar (12-18”, ~$20)
- Dental picks / probes (~$10 for a set) — for delicate pocket work
- Bucket (5-gallon, ~$5)
Skip for now
- Metal detectors — $300-1500 range. Skip until you’ve spent a season with hand tools and know what you actually need.
- High-banker / dredge — Regulated, expensive, and overkill for a beginner.
- Power tools — Not allowed on club trips, restricted on most BLM and USFS surface collecting.
The basic kit fits in a backpack. The hammer, chisels, loupe, screens, and pan will get you through your first full season.
Step 4: Understand What You Can and Cannot Do Legally
Three rules cover 95% of beginner hobby mining:
1. Casual Use on BLM and USFS surface ground: Hand-tool surface collecting for personal, non-commercial use is generally permitted. Reasonable limits apply (typically 25 lbs/year). No mechanized equipment. No selling what you collected.
2. Active mining claims are off-limits without written permission: Period. Claim posts, ribbons, and BLM claim tags are legally binding. Trespassing on a claim — even one that looks abandoned — can result in citations, civil liability, and confiscation. This is where onX and MyLandMatters save you.
3. Private property is private property: State parks, National Parks, Monuments, and most Wilderness Areas prohibit collecting entirely. Verify with the managing agency before any trip.
If you want to go beyond Casual Use and operate at a higher tier (Notice of Intent or Plan of Operations), we covered all three tiers in detail in our Mining Claims 101 post. For Casual Use, that post will tell you what’s allowed and what’s not. Read it before your first trip.
If you want to file your own mining claim someday, see our Beginner’s Guide to Mining Claims and How to File a Mining Claim with the BLM posts.
Step 5: Plan and Execute Your First Trip
Putting it all together looks like this:
- Pick a club field trip from your club’s schedule. June or July is ideal in Colorado.
- Read the trip leader’s email carefully — meeting time, parking location, what to bring, what’s permitted to keep.
- Pre-check the area in onX the night before. Save an offline map. Confirm the parcel ownership matches what the trip leader said. Note any nearby active claims for context.
- Cross-check on MyLandMatters if any portion of the trip is on BLM ground without an explicit claim holder.
- Pack the essential gear list above plus water (1 gallon per person minimum), food, layers, rain gear, sunscreen, first aid kit.
- Show up early. First-timers get the most help when they arrive 15 minutes before the start time, not at the start time.
- Listen during the safety briefing. The trip leader will tell you where you can dig and what you can keep. Stick to that.
- Report any pocket find immediately to the trip leader. Don’t dig alone into a cavity.
- Backfill your holes. USFS and BLM rules require it. Trip leaders enforce it.
- Pack out everything you brought in, plus any trash you find.
That’s your first trip. You’ll come home with some material to wash and sort, a notebook full of contacts, and an invitation to the next trip. Repeat 5-10 times and you’ll have a real hobby.
Realistic Expectations
A few things to set the right mental model:
- First trips rarely produce display-grade specimens. Most beginners come home with chips, fragments, and one or two small intact crystals. That’s normal. Pocket-grade finds happen after 5-50 trips of pattern recognition.
- The hobby is social as much as technical. The people on your second trip will teach you more than the first trip itself.
- Most hobby miners specialize within their first year. Either placer gold or mineral specimens, rarely both. Pick the one that pulls you and go deep on it.
- Buying specimens is part of the hobby too. No shame in supplementing your field finds with shop purchases. Most serious collectors do both. The Denver Gem and Mineral Show in mid-September is the single best event in the country for Colorado material.
Where to Go Next on This Site
For specific Colorado collecting areas and the geology behind them, our posts on Pikes Peak Pegmatites, Park County Minerals, and the Crystal Peak Amazonite field trip guide get into specifics. For placer gold, our Fairplay Gold Panning Park post is a great entry-level read. For the bigger legal framework, the full Mining Guide covers history, mineralogy, and law in one place.
Questions about getting started? Get in touch. We’ve been doing this for a long time and are happy to answer beginner questions.